
New features: add camera, external audio and more
LiveReacting Features
We are pleased to present a new functionality that will allow you to improve the quality of your stream to what you need.
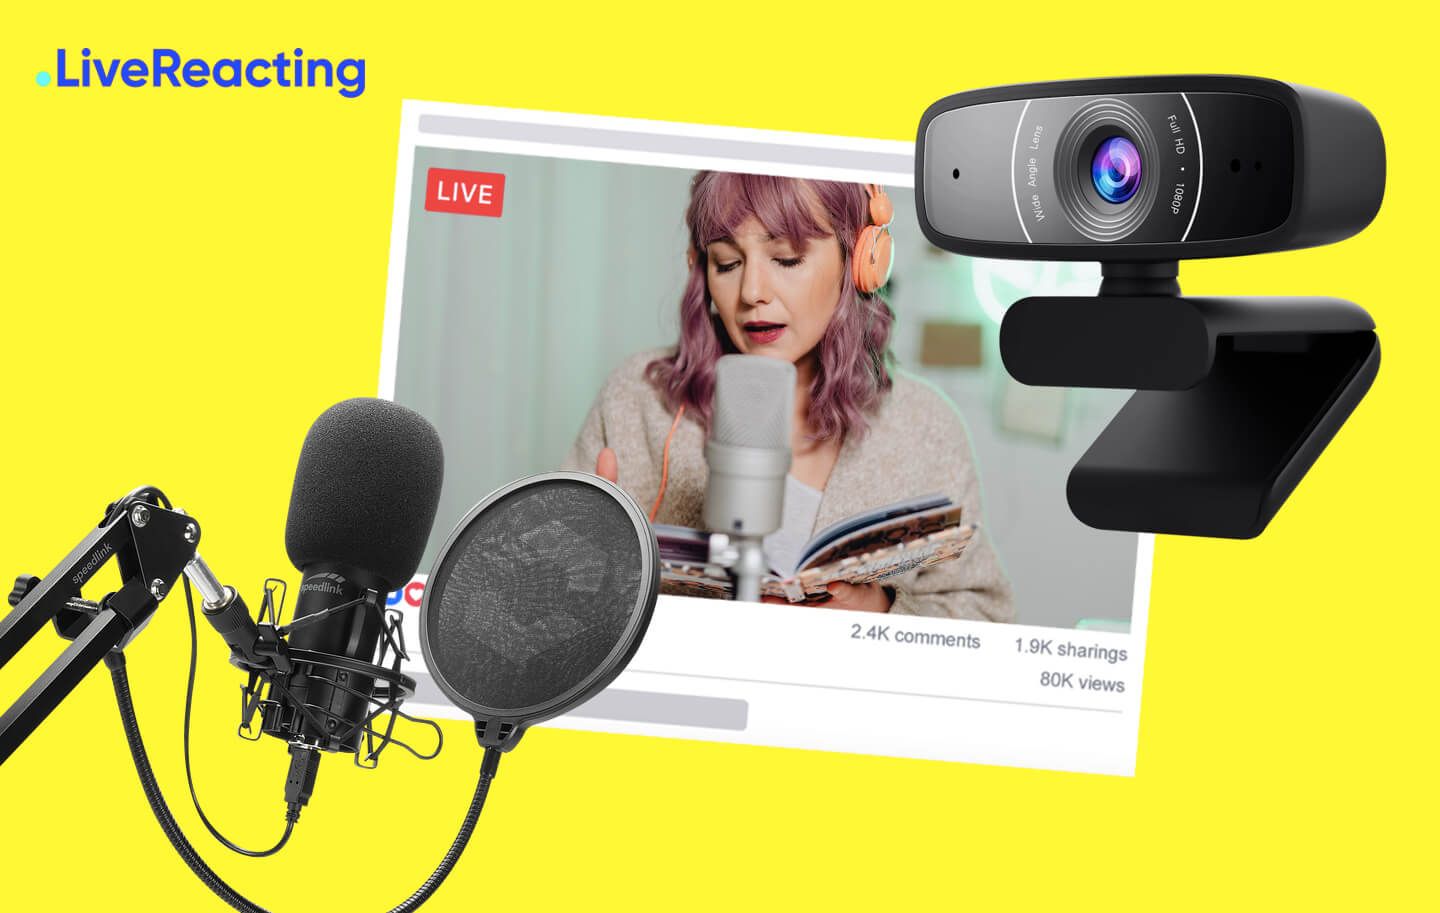
From today you will be available to connect your internal and external web or professional cameras, use any of audio devices that can handle all of your needs. And use it with all the templates we have.
It's a new quality level for big projects, that will allow you to connect up to 2 cameras from 1 pc or laptop, also you can connect your external sound device to use as many microphones as you need.
With this update, from now on, you don't need to buy expensive streaming gear. You can make your own show, live blog, and many more just using LiveReacting studio. Take note that it's just a beta version, where you may find some issues and bugs. Please tell us about it in details, and we will fix it as soon as we can.
On the example below, we will show you how to use new features. We tried to implement them in the easiest way to use and keep the simplicity of user experience on the same level.
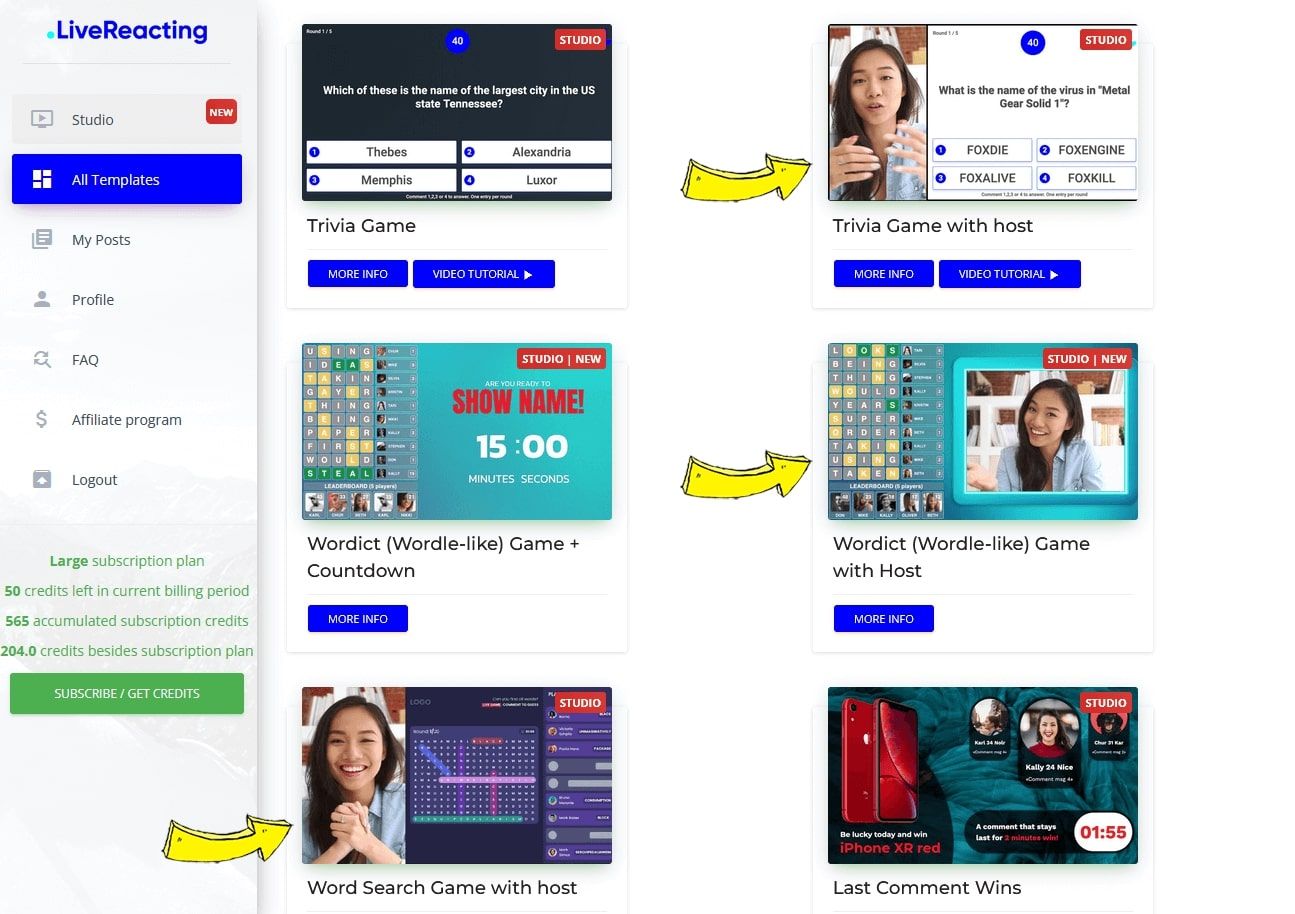
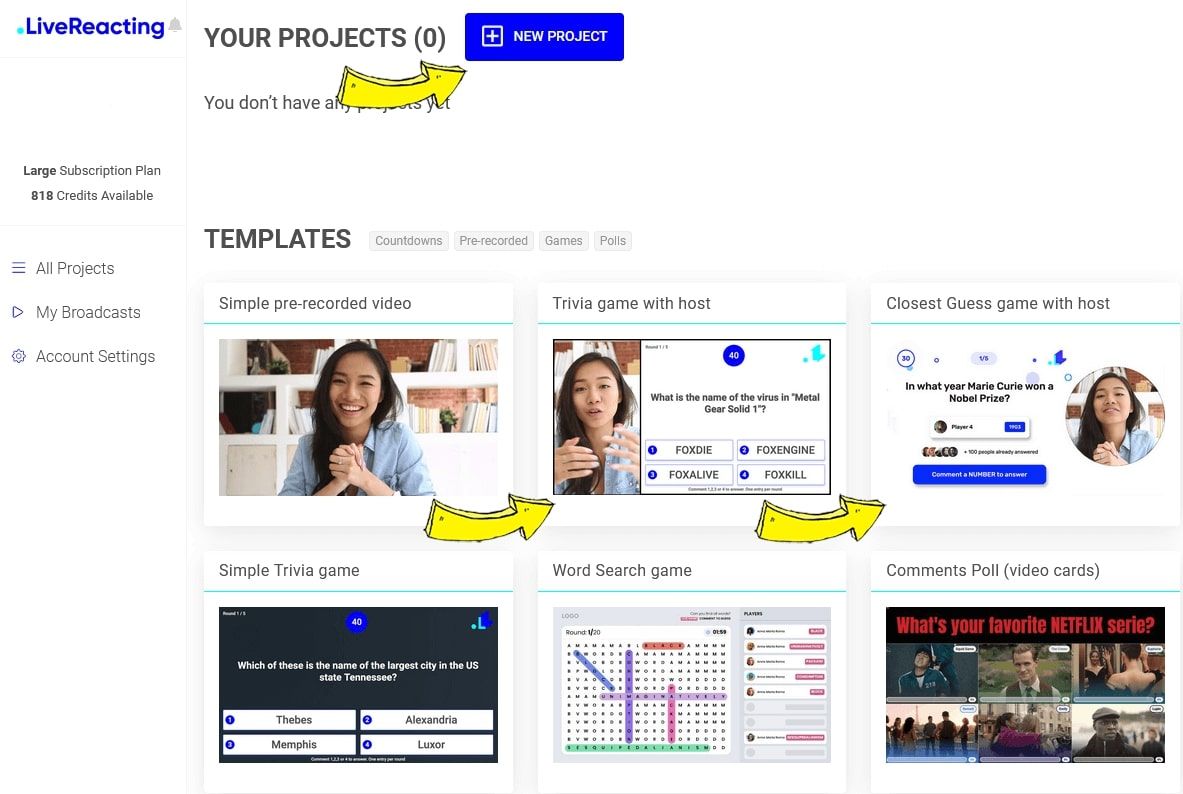
- In The Dashboard page of LiveReacting studio click “New Project” or start from one of our templates
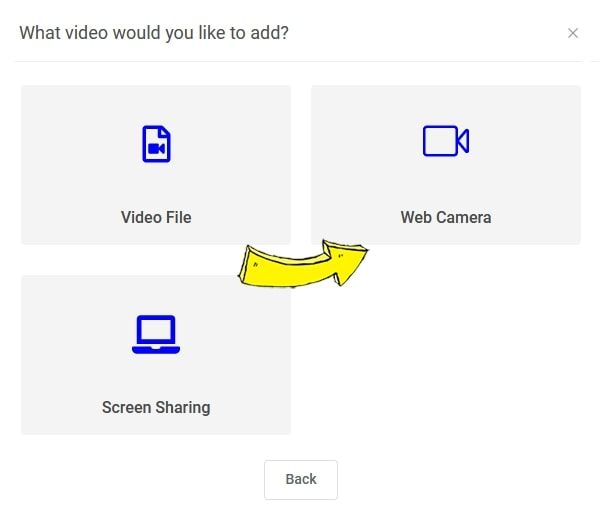
2. Add background by adding new video layer, you can choose stream from one of 2 web cameras you have, or just by uploading pre-recorded video on your taste.
3. Inform your audience when exactly you will start your stream with the countdown. Press “add a new layer”, then click on countdown and setup time when you plan to go live.
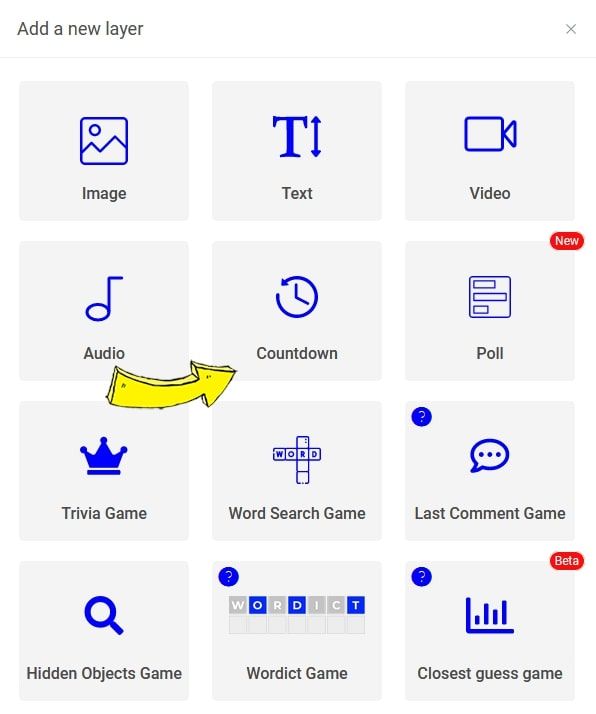
4. Don’t forget that you can use different layers to inform your audience about the topic of stream or whatever you want, just go to the layers and add text, image or poll layer.
If you want to add background music while your audience is waiting for the stream click layers, then add audio and select file. Important note: don’t forget to delete this layer, when you will update your stream before getting live from camera using microphone. If you want, you can leave music on background using volume function.
5. Now, when you are done with setting up your perfect pre-live video with the countdown, you can go live pushing button with the same name in the upright corner of your screen.
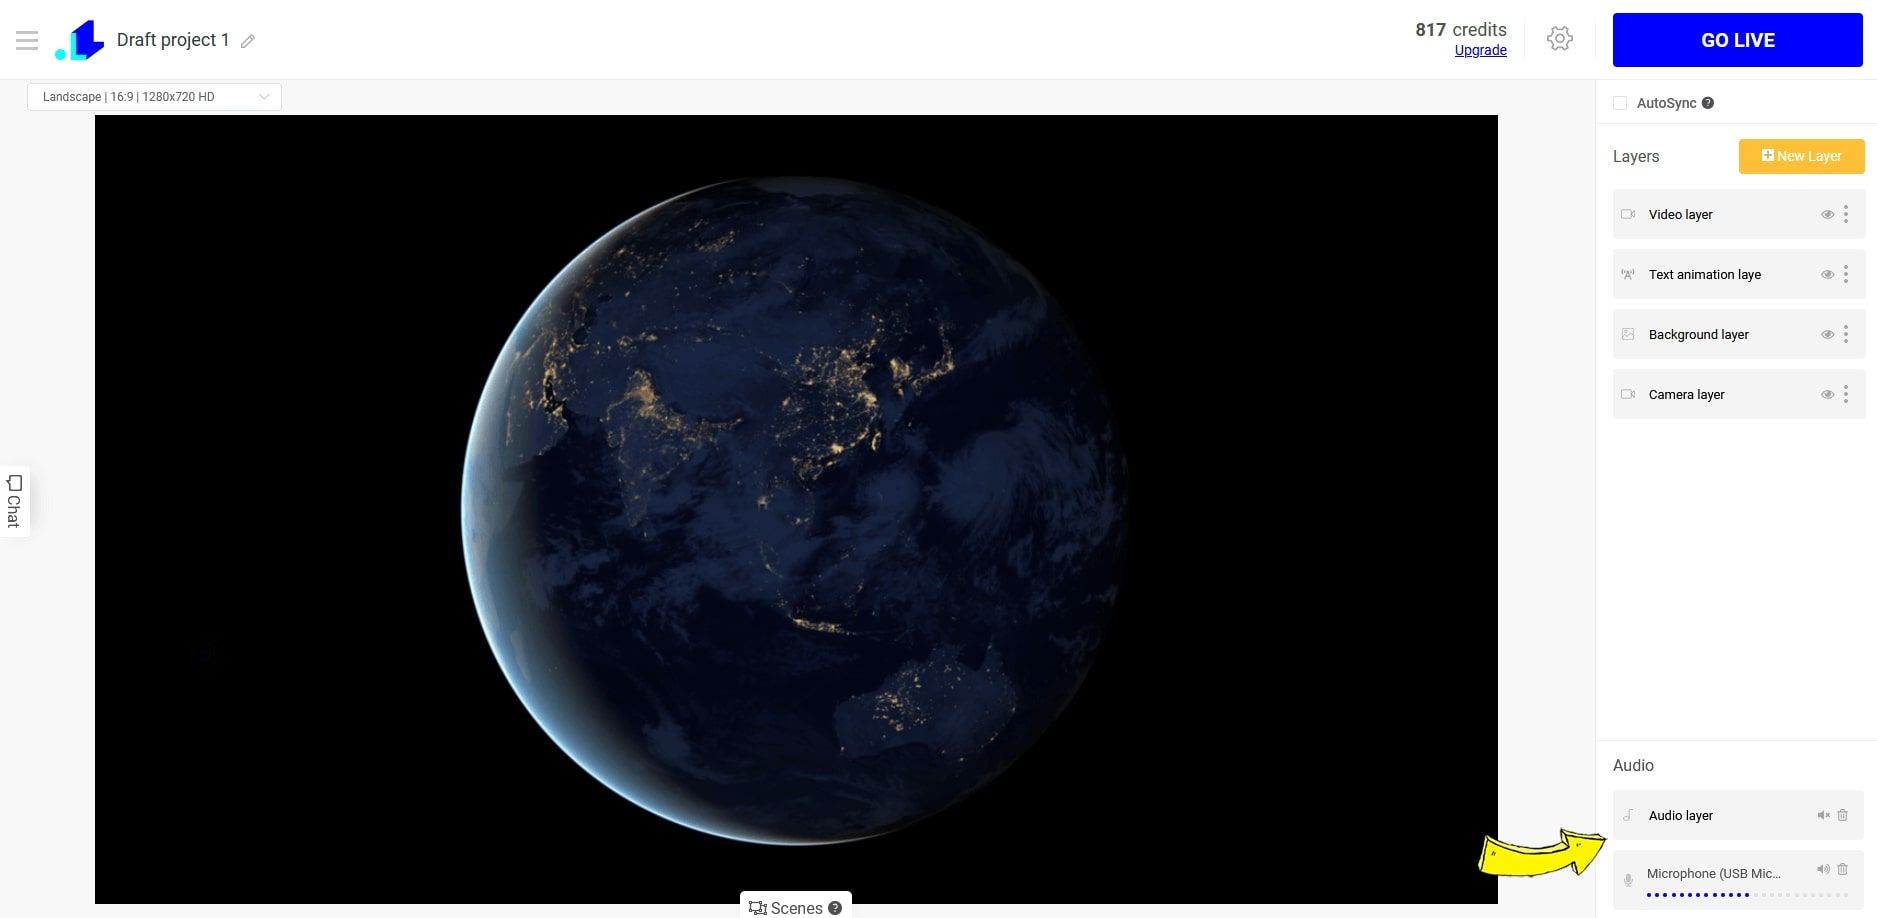
We are almost done, another few things you need to do to go live from web camera or pre-recorded video: return to the studio and add another video layer, pick camera and audio device from drop down menu or upload video as we explained earlier.
6. Stretch out the video to the full screen, add or remove background music using layers, and you are ready to go live.
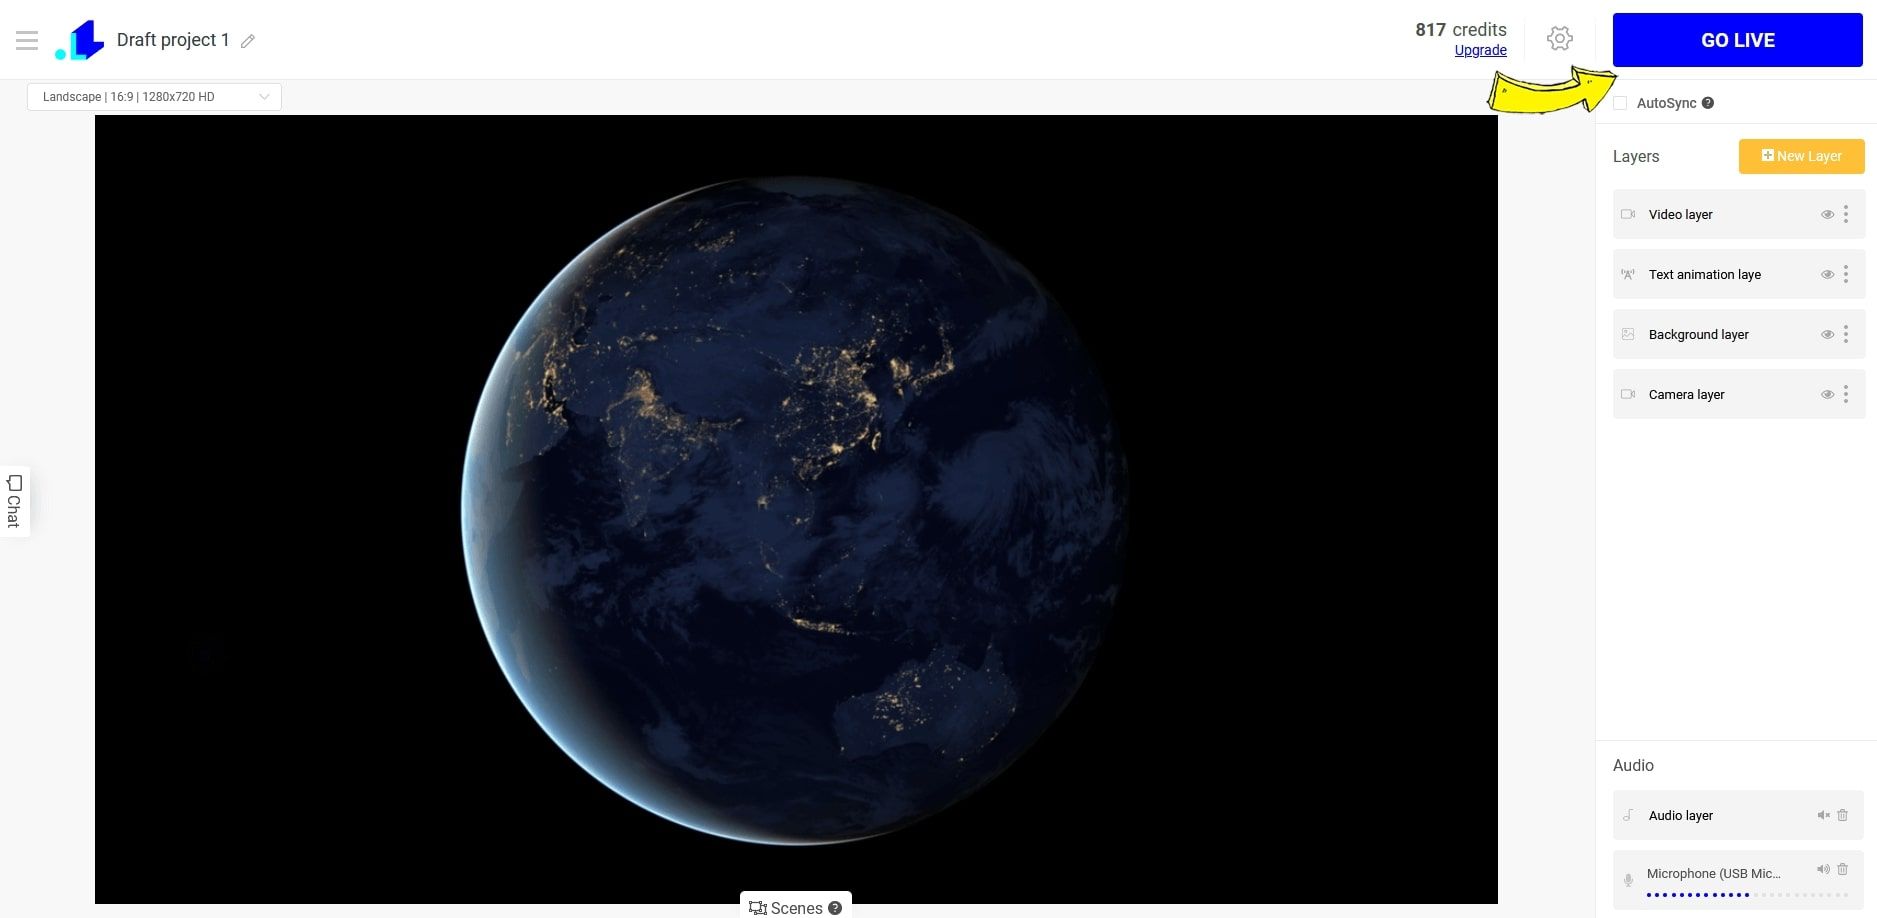
7. Watch the countdown, one thing you need to do before going live is simply to push button Sync with Live.
Congrats, now changes you’re made updated in your live stream. Don’t be afraid to experiment with different parameters, save your templates and compare feedback and reactions. We wish you to have a nice experience, using new opportunities of LiveReaction studio.
Transform Your Live Streams with LiveReacting
Join 10,000+ streamers who are boosting engagement and viewership by adding pre-recorded videos, games, polls, and countdowns to their streams.
Try LiveReacting for free today and take your streams to the next level!