LiveReacting Studio: All you need to create your custom live streams

We’re so happy to finally announce the release of LiveReacting studio! In this post, I’m going to walk you through this update so you'll get a clear picture of how to make the most out of it.
Let’s start with what LiveReacting studio is and how it is different from our good old templates. LiveReacting studio is a highly customizable editor where you can create your live videos from scratch. It’s a perfect solution for those who want to wow their audience with high-quality and uncommon live streams. With this Studio, you can add several scenes in your stream, which you can switch (f.e. switch from a countdown to an actual live, and then to a Trivia Game). Moreover, you can edit and modify your live video in real-time without republishing.
How it works
To test LiveReacting studio, go to your dashboard. We updated the left sidebar of the dashboard screen, so now you’ll see a new tab “Studio.” All our ready-to-use templates are now stored at the tab called “All templates.” After clicking on the new button, you’ll be redirected to the Studio subdomain. Let’s look at the elements of this screen.
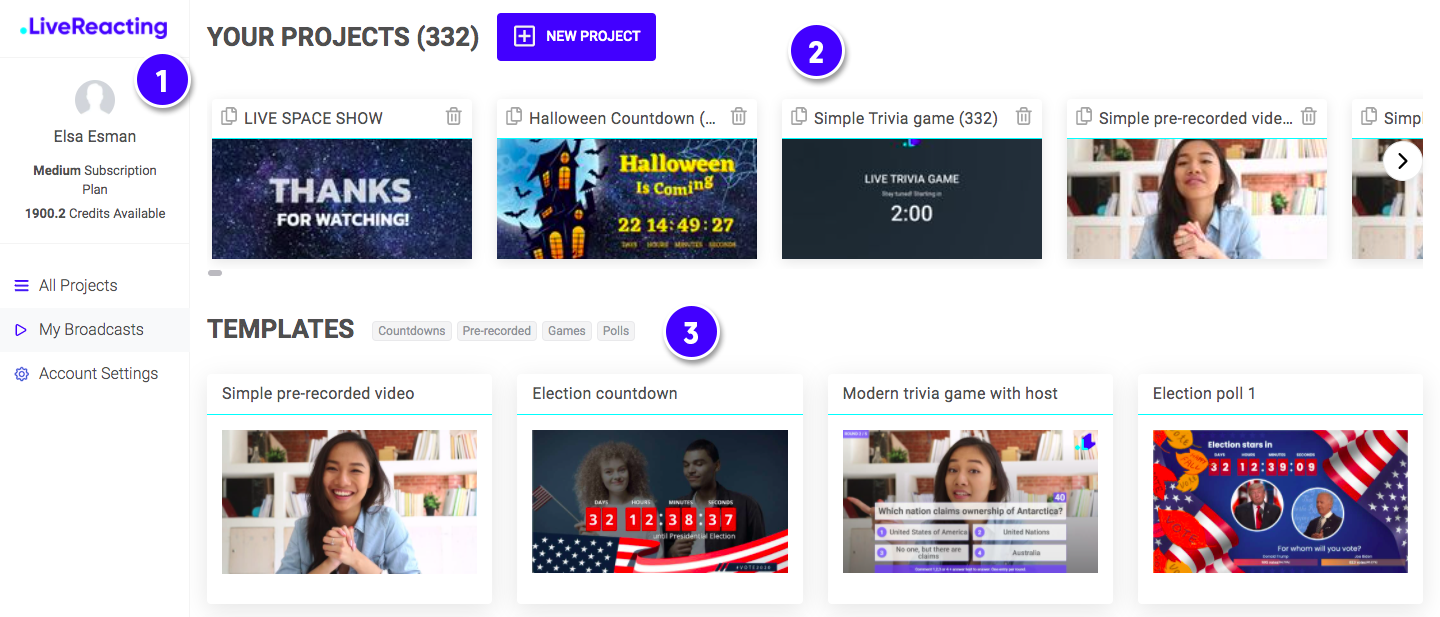
On the left-side panel, we placed the most important info and links you may need during the process of video creation. This bar is floating, so you can access it from any place of the Studio. The higher part of this panel is all about your account; here, you can always check the number of credits left. While in the lower part, we store all important links. Go to “Live Streams” section to see the list of all streams ever launched with all required information. In the “Account settings”, you can find the information about your subscription and manage your payment details.
At the upper part of the front page you can see all your projects, both drafts and those you already launched. To create a new one, you just need to click on "New project" button.
If you don’t want to create a video from scratch, you can use one of our templates. Just choose the template that best fits your needs, and then customize it. We update the template collection on a regular basis.
Now let’s create our first video, so you can get an idea of how the layers work.
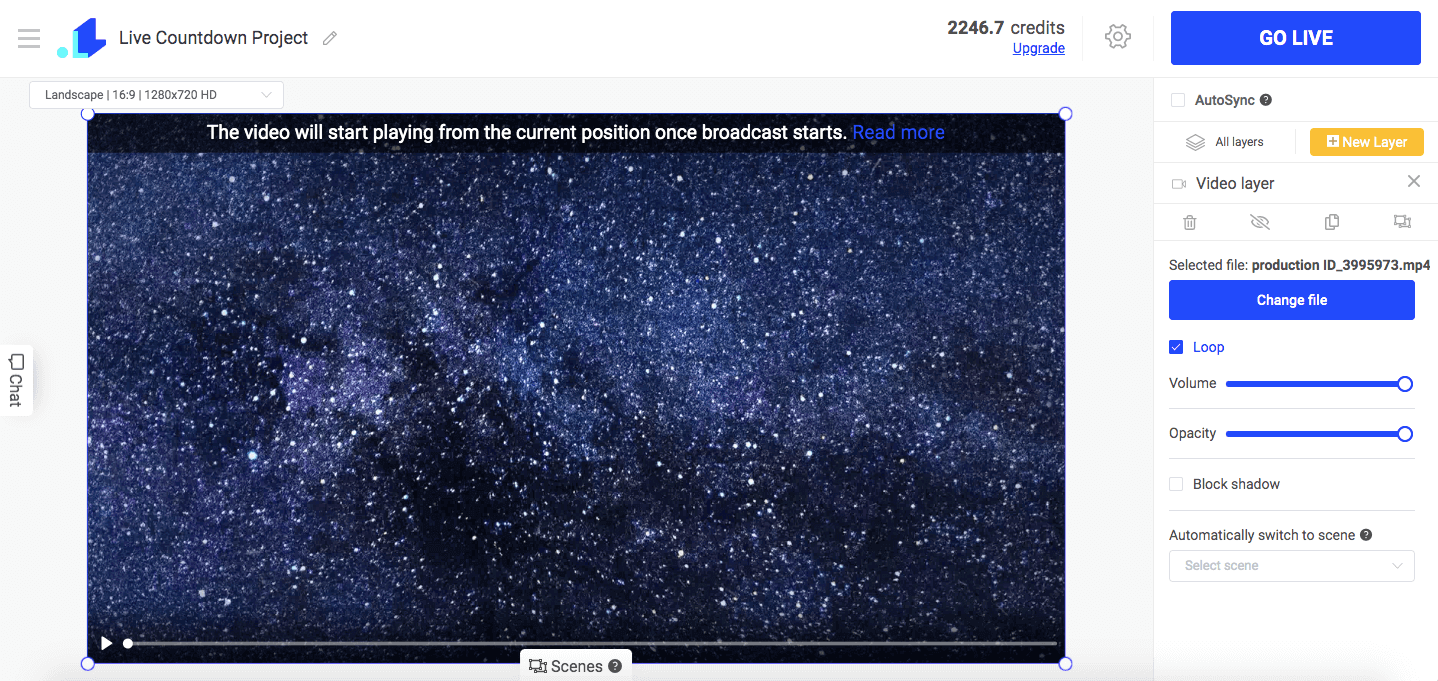
- To do this click on “New project.” I want to create a countdown as an example. My video will consist of 3 elements: video, text, and countdown. So let’s start with a video. Upload it and place where you want. If your video is with sound, you can choose the volume.

2. Now let’s add some text.

3. And the final layer is a countdown. So let’s create it.
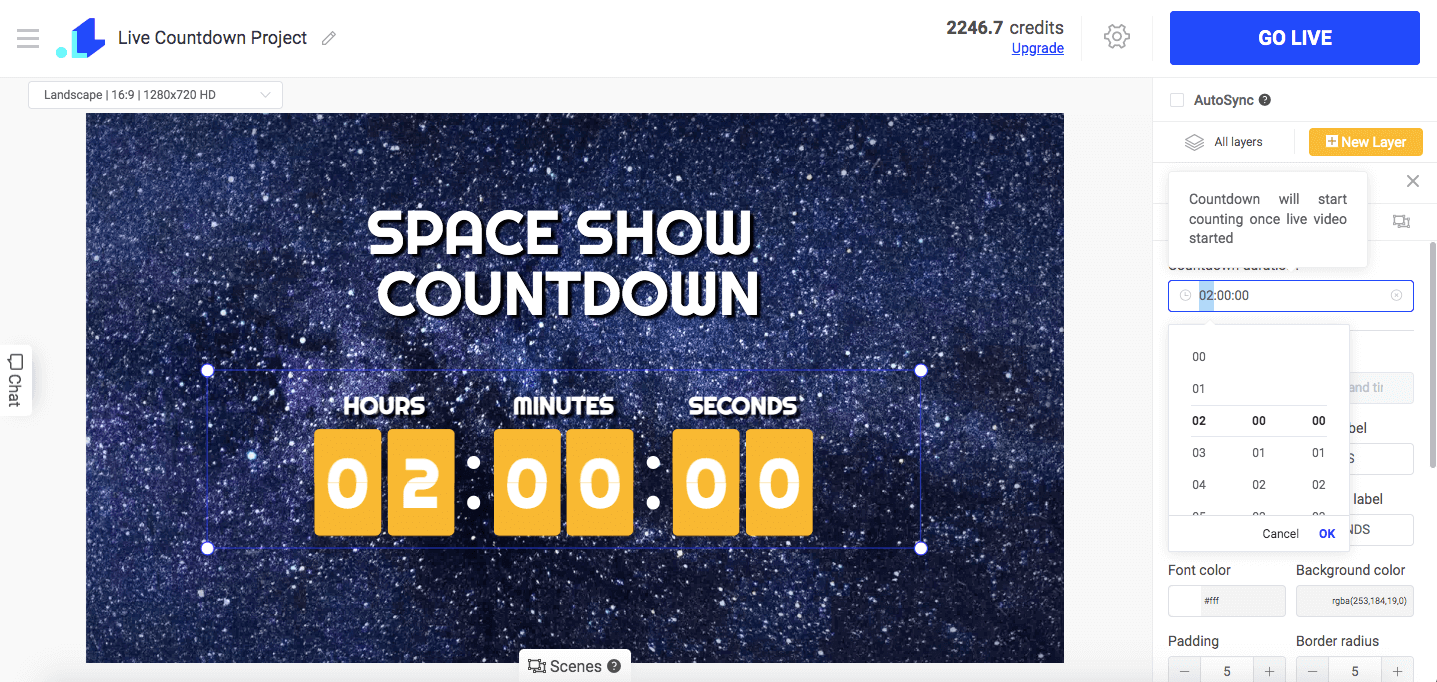
Seems like everything looks pretty good. So let’s pass to the settings. Here we need to choose the page to stream this video to, then add title and description of the video. You can do this here or directly on Facebook. The next step is setting the duration of your stream. Mostly, FB Live can be up to 8 hours, and there is no limitations on Youtube Live.
4. Double-check everything and then click “Save” button. After all the above-mentioned steps are done, click on “Go Live” button at the top right corner. Wait for several minutes while your video is processed.
5. When your video is already live, you can finish it by simply clicking on “End stream.” One of the key features of our studio is that you can edit your stream right inside the studio and then synchronize it with Facebook. Here is how it works:

Congrats! We’ve successfully created our first live stream. Let’s now pass to the creative examples of how you can use the Studio.
Examples of use
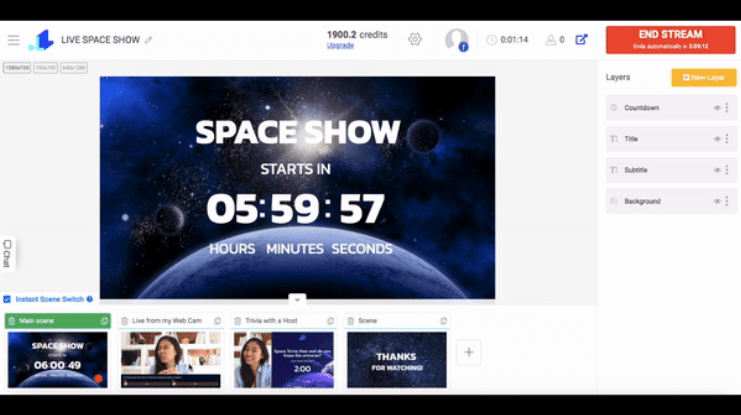
The good thing is that you can add as many scenes in your live stream as you want, and transit from one scene to another without stopping your broadcast. Let's take a look at how each element works:
Countdown
Are you hosting an important event, releasing something, or just waiting for a significant holiday? Create your custom countdown timer to show your followers how much time is left till that moment.
Do you want to promote your holiday sales, upcoming promotions, or any other time-limited offers? A countdown clock will help to create a sense of urgency and boost your sales.
Below, we ran a countdown to an upcoming live show. The live show from a Web Cam had started right after the countdown reached 00:00.
Live from a Web Cam + Poll
You can stream an actual live from your Web Camera or upload a Pre-Recorded video, and supplement it with interactive elements (like a countdown, poll, animated text, and more).
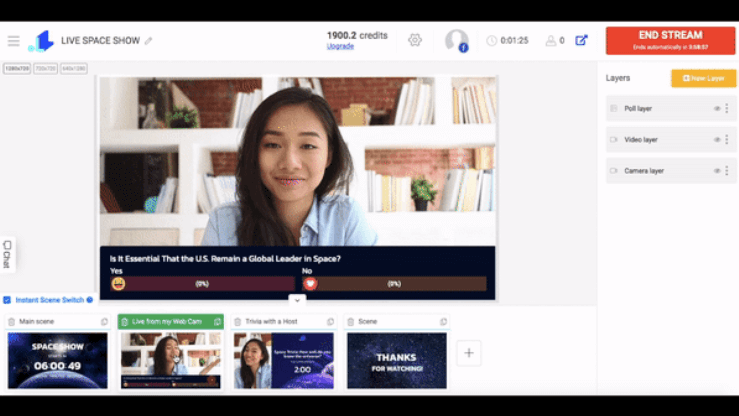
Here, after the countdown was over, we transitted to a Web Cam streaming. We also added a Live Poll, so the audience could vote with an emoji in real-time.
Trivia Show (with a Host)
Trivia Games are our favorite because they tend to bring lots of engagement. You can customize Trivia by adding your own questions/answers and make it look nice with your visuals.
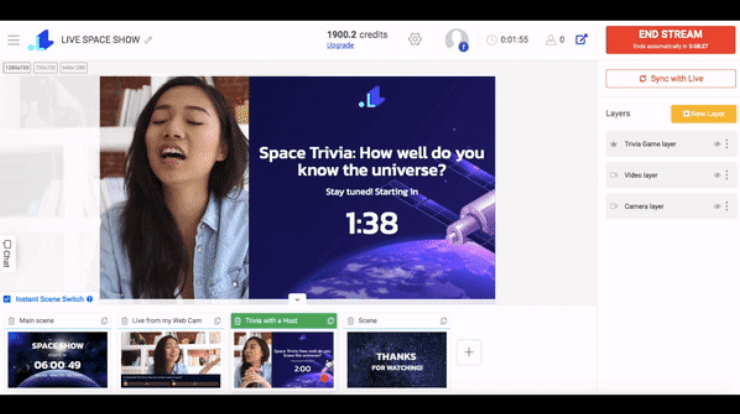
Now we moved from a simple Web Cam streaming, to a Trivia Game with a Host.
Pre-recorded Video and Animated Text
You can upload your pre-recorded video to be streamed as live, and embellish it with some interactive elements.
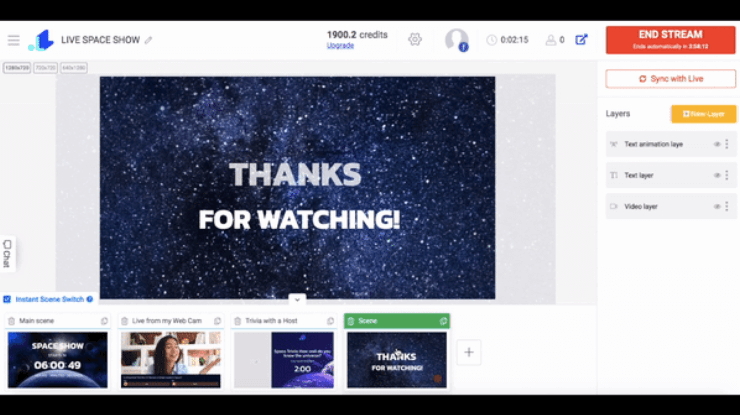
To finalize our live show, we added a scene with a pre-recorded video and added animated and simple text over it. To place the text, you simply need to create 2 text layers and put them on top of the video layer.
That’s probably everything we had to tell you about our Studio. It’s time to see it in action!
Transform Your Live Streams with LiveReacting
Join 10,000+ streamers who are boosting engagement and viewership by adding pre-recorded videos, games, polls, and countdowns to their streams.
Try LiveReacting for free today and take your streams to the next level!
