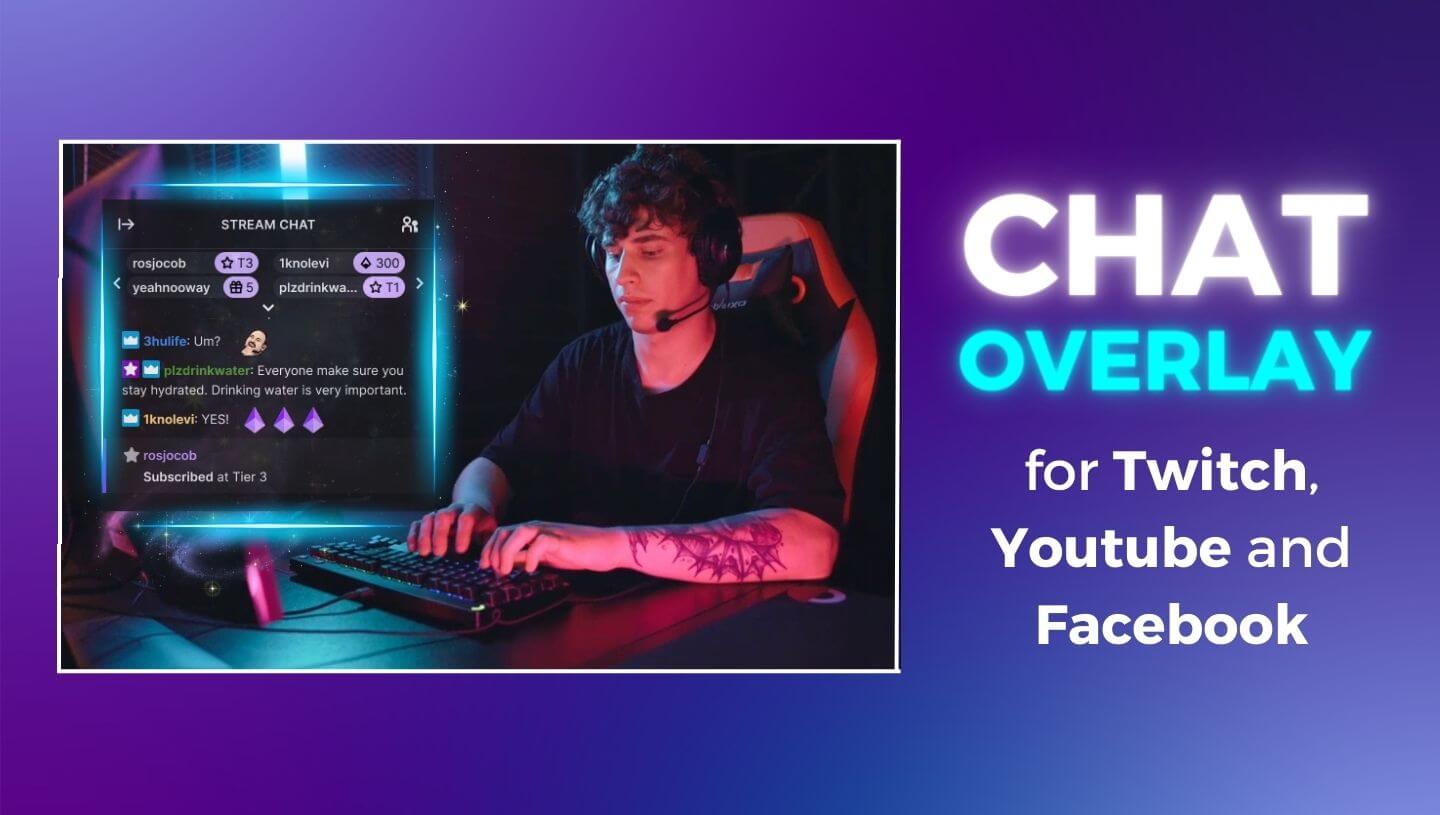
How to add a Youtube or Twitch Chat Overlay to a Stream?

As the number of active streamers exponentially increases on various platforms, the demand for features that help to gain more followers on Twitch, Youtube and other platforms also rises. One such feature is a chat overlay. In this blog post, we will discuss how to add a Twitch chat overlay, YouTube chat overlay, and Facebook chat overlay to your live stream without using OBS (Open Broadcaster Software), a commonly used broadcasting software.
Contrary to popular belief, incorporating a chat overlay into your live stream is not exclusive to OBS. If you're an enthusiastic streamer aiming to enhance your viewer engagement or looking to differentiate from the common OBS Twitch chat overlay, keep reading.
Twitch Chat Overlay
For Twitch streamers, adding a chat overlay without OBS can be achieved through various third-party tools, but for this tutorial, we'll use LiveReacting. Using this method, all it takes to add a chat into your live stream is simply connecting your account. LiveReacting, with its user-friendly interface and powerful customization options, makes this process incredibly straightforward, allowing streamers to effortlessly incorporate and manage chat overlays to enhance the viewer experience:
- Navigate to the LiveReacting Studio and log in.
- In a new project, connect your camera or multiple cameras by clicking New Layer > Video > Camera.

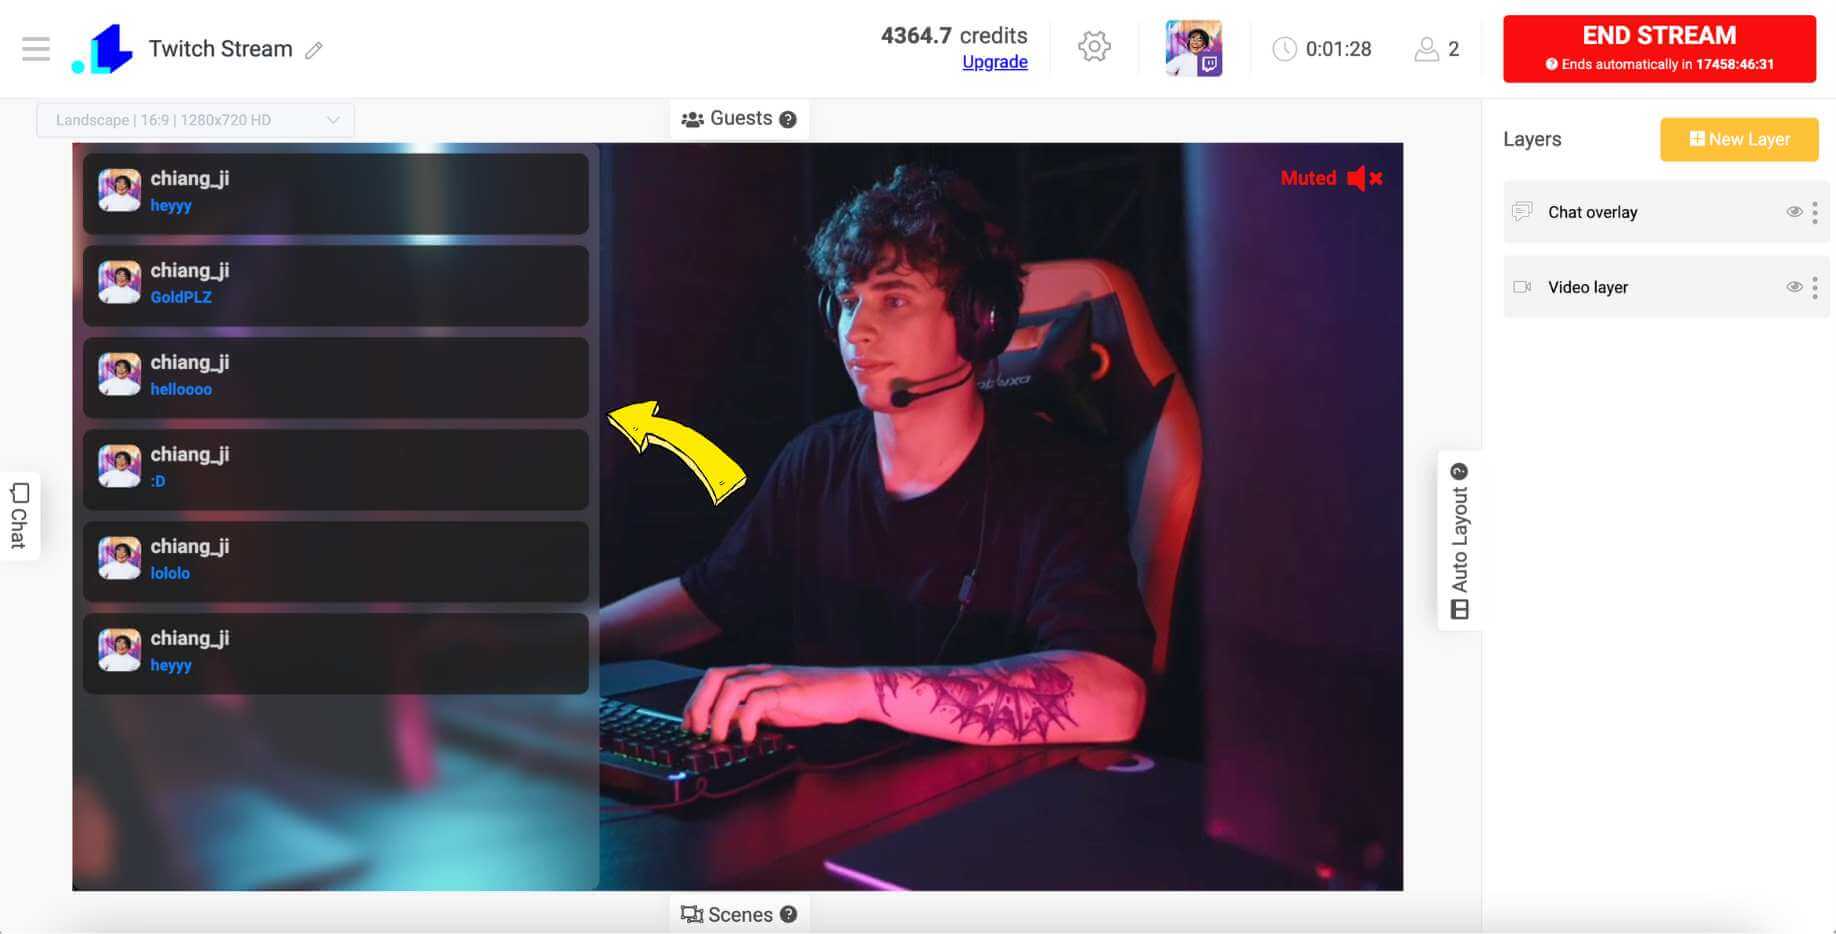
- To add a Twitch Chat Overlay, click New Layer, choose Chat Widget and adjust the size according to your needs.

- Go to the Settings (Gear Icon at the top), and click + button to connect your Twitch account for streaming. Choose Twitch, log in and connect. Add title and scroll down to click Save.

- Press Go Live button to start streaming.

The stream is live on Twitch now. All the comments are tracked and displayed in the chat overlay in the stream. If you stream to multiple Twitch channels at the same time, comments from all channels are displayed in the chat.

How to add Chat to OBS
If you want to add a chat to OBS, this post will outline a step-by-step process of integrating chat overlay into your OBS software using LiveReacting. Please note, that this method will work only when streaming to Twitch, Youtube or Facebook from OBS. Here's how to do it:
Step 1: First, you need to log into your LiveReacting account. If you do not have one, create an account.
Step 2: Once logged in, go to the section on the right side, click New Layer and choose Chat Overlay.

Step 3: Go to Settings (Gear Icon), connect your streaming platform (like Facebook, Twitch, or YouTube), make a tick on Plugin Mode box, and copy the URL.

Step 4: Open OBS and create a new source. Select 'Browser' and name it as you like.

Step 5: In the 'URL' field of your new source settings in OBS, paste the link previously copied from LiveReacting. Adjust the width and height fields to match the dimensions of your Stream (1280 x 720).

Step 6: You'll see the following notification, which means that your Chat Overlay is successfully integrated in OBS. The chat does not start working until you go live. Don't forget to align the chat overlay on OBS as you wish, by dragging it to your preferred location on the stream screen.

Step 7: Start your stream in OBS and click START in the LiveReacting Studio. There you have it - you have successfully added a live chat to OBS using LiveReacting.

The OBS is currently streaming live, with all comments being monitored and showcased in the chat overlay within the stream. In case you are streaming to various destinations simultaneously, rest assured that comments from all channels will be visible in the chat.

Remember, chat overlays are a fantastic way to promote viewer participation, they create a more immersive and interactive experience for your audience. While OBS is a great broadcasting software on its own, tools like LiveReacting can significantly enhance its capabilities and your viewer's experience.
YouTube Chat Overlay
Incorporating a chat overlay into your Youtube live stream is like inviting your viewers to a fun and interactive party, where they can chat, share thoughts, and create an engaging community. Not only does it spice up your livestream, but it also lets you effortlessly connect with your audience in real-time. The best part? LiveReacting makes these additions super easy-peasy and customizable, making your streaming life super smooth.
- Navigate to the LiveReacting Studio and log in.
- Connect your camera or multiple cameras by clicking New Layer > Video > Camera.

- To add a Twitch Chat Overlay, click New Layer, choose Chat Widget and adjust the size according to your needs.

- Go to the Settings (Gear Icon at the top), and click + button to connect your Twitch account for streaming. Choose Youtube, log in and connect. Add title and scroll down to click Save.

- Press Go Live button to start streaming.

Guess what? We're live on YouTube now! Every comment you make is treasured and will show up in the chat overlay during the live stream. Even cooler, if you're streaming across several YouTube channels simultaneously, we gather all your comments from each channel and display them in the chat. Isn't that awesome?

Facebook Chat Overlay
Adding a chat overlay to your Facebook live stream significantly enhances audience engagement by creating a real-time interactive platform for viewers to share their thoughts, feedback, and questions. It fosters a sense of community, as viewers feel more connected and involved in the live stream. Additionally, this feature gives the host valuable insight into the audience's responses, enabling them to tailor their content to viewer preferences, thus improving the overall quality of their streams.
- Navigate to the LiveReacting Studio and log in.
- Connect your camera or multiple cameras by clicking New Layer > Video > Camera.

- To add a Twitch Chat Overlay, click New Layer, choose Chat Widget and adjust the size according to your needs.

- Go to the Settings (Gear Icon at the top), and click + button to connect your Twitch account for streaming. Choose Facebook, log in and connect. Add title and scroll down to click Save.

- Press Go Live button to start streaming.

Woohoo! We're currently rocking a live stream on Facebook! Your comments are popping up in the chat overlay right in the middle of our Facebook live stream! And if you're a multi-platform superstar streaming to several Facebook pages at the same time, we're corralling all those comments and showcasing them in the chat.

Conclusion
To wrap up, adding a chat overlay to your live stream without using OBS Twitch chat overlay, or rather any OBS solution, is quite possible. Streaming platforms like LiveReacting are remarkable alternatives, offering unique customization to suit your style and platform. Embedding a chat overlay in your YouTube, Facebook, or Twitch stream is a fantastic way to engage with your audience in real time and make your live streams more interactive. Not only does this make your viewers feel part of the experience, but it also helps build a vibrant community around your content. We hope this step-by-step guide has made the process easier for you and that you're now ready to take your streaming experience to the next level.
Got questions? Or, need help to add a chat overlay in a stream? Contact us in the live chat on our website, and we'll assist you as soon as possible!
Transform Your Live Streams with LiveReacting
Join 10,000+ streamers who are boosting engagement and viewership by adding pre-recorded videos, games, polls, and countdowns to their streams.
Try LiveReacting for free today and take your streams to the next level!
