How to Live Stream a Video Playlist?

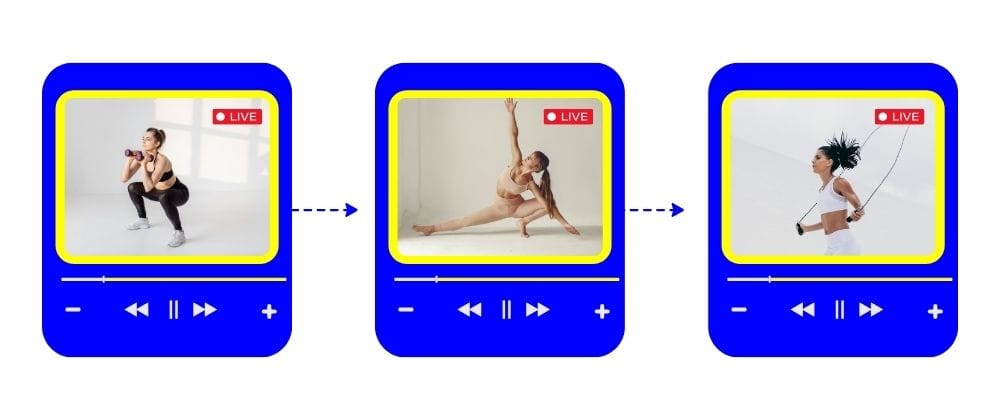
Live streaming a video playlist is a game-changer for streamers and anyone who wants to share a bunch of videos with an audience at once. If you're a content creator streaming your best highlights, a gamer sharing epic plays, or someone introducing new products, streaming a playlist lets you organize everything in one place smoothly. You don’t have to worry about clicking the next video, and your audience gets to watch everything without interruption. Learning how to set up a live stream with a playlist can take your creative process to a whole new level and make your streams way more exciting and professional.

Popular Ways to Use a Video Playlist in Live Streaming
- 📚 You’ve got tons of videos you want to stream one after the other, but you can’t stick around by your computer the whole time.
- 🗂️ You have several big video files, and merging them into one before streaming is a hassle you’d rather avoid.
- 🎵 You’re a musician wanting to play a series of music tracks, with video visuals rolling in the background. If you’re looking to stream a music playlist on a platform like Twitch, you can set this up with LiveReacting in just a few minutes.
- 🎤 You're hosting a virtual event or webinar and want to include pre-recorded live video segments seamlessly within a live stream.
- 🎓 You're a teacher or tutor creating a series of educational videos that you want to stream to students in a structured order without interruptions.
- 📈 You’re running a marketing campaign and need to showcase a variety of video ads and product demonstrations consecutively to engage your online audience effectively.
- 🎥 You’re a podcaster or vlogger who wants to include video interviews or special feature segments as part of your live broadcast.
How to Live Stream a Video Playlist?
In this tutorial, we'll use LiveReacting to show you how to make it happen easily, without needing any extra software. Whether you want to share a few clips or keep your stream running 24/7 live, LiveReacting makes it super easy. You can customize the look and feel of your stream so it stands out, making it perfect for everything from gaming sessions to music mixes.
In this guide, we'll walk you through the steps to easily set up your video playlist using LiveReacting:
- Head to the LiveReacting Studio and create a New Project.
- Once you've created a project, you'll want to set up a new layer. To do this, just follow the steps by selecting ➡️ New Layer ➡️ Video ➡️ Video Playlist.

- When it comes to uploading your videos, you can do it all in "one go" by clicking to select the right files in bulk.

- After your videos are uploaded, it's time to pick the ones you want for your playlist. Highlight (by ticking) the video files you'd like to add, and then simply hit the button to Confirm Selection. This will ensure your playlist is good to go.

Video Playlist Customization Options
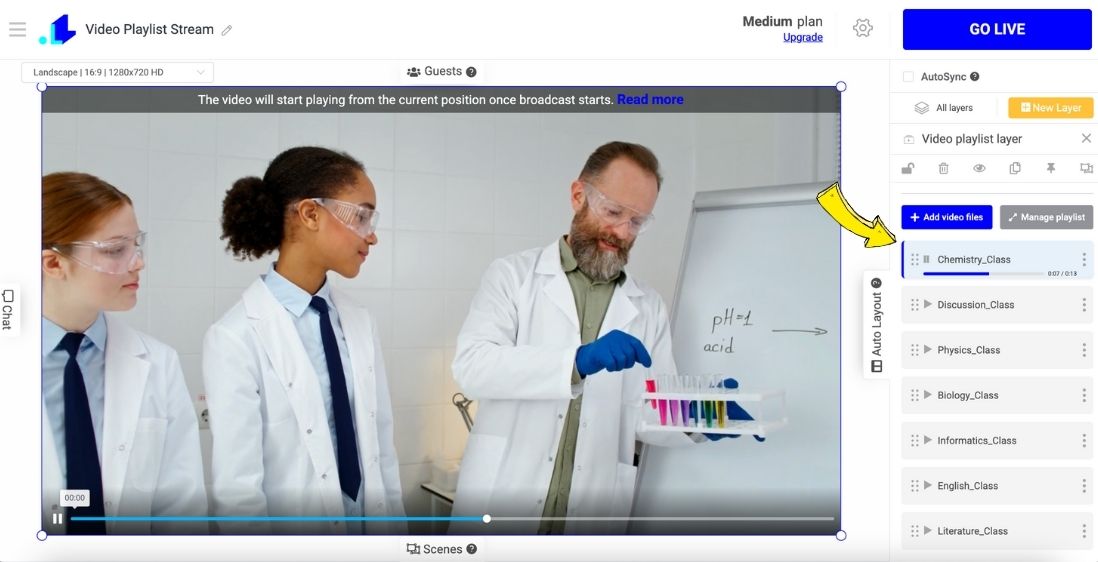
Once you've got your playlist uploaded, you'll find it displayed on the right sidebar, giving you easy access to tweak and modify it to your style.

A handy feature you can use is the "Display video name in the stream" option. If you enable it (by making a tick), the name of each video will show up right in the stream. You can customize how it is displayed by choosing a style preset, position, and color.
Since the name of each file will be displayed in the stream, you might want to change the name of specific files. Click the edit (pen) icon next to that specific video file and type in a desired name.

Another cool option the platform offers is to "Show progress bar" below the video's name. This bar shows your viewers how far along the video is as it plays, giving everyone a nice update on what’s going on.

If you want to change how this box looks, go ahead and select "Show Advanced Style Settings." This lets you pick different fonts, sizes, colors, and text alignment, so you can get the exact style you want.

There's also a "Play in loop" feature you can check if you want your playlist to keep going non-stop. This way, when the last video finishes, the first one will start over again automatically. If you leave "Play in loop" unchecked, the stream will just stop when the last video ends. To make sure the stream ends exactly when you want, go to Settings and set the stream duration to the total time of all the videos combined.

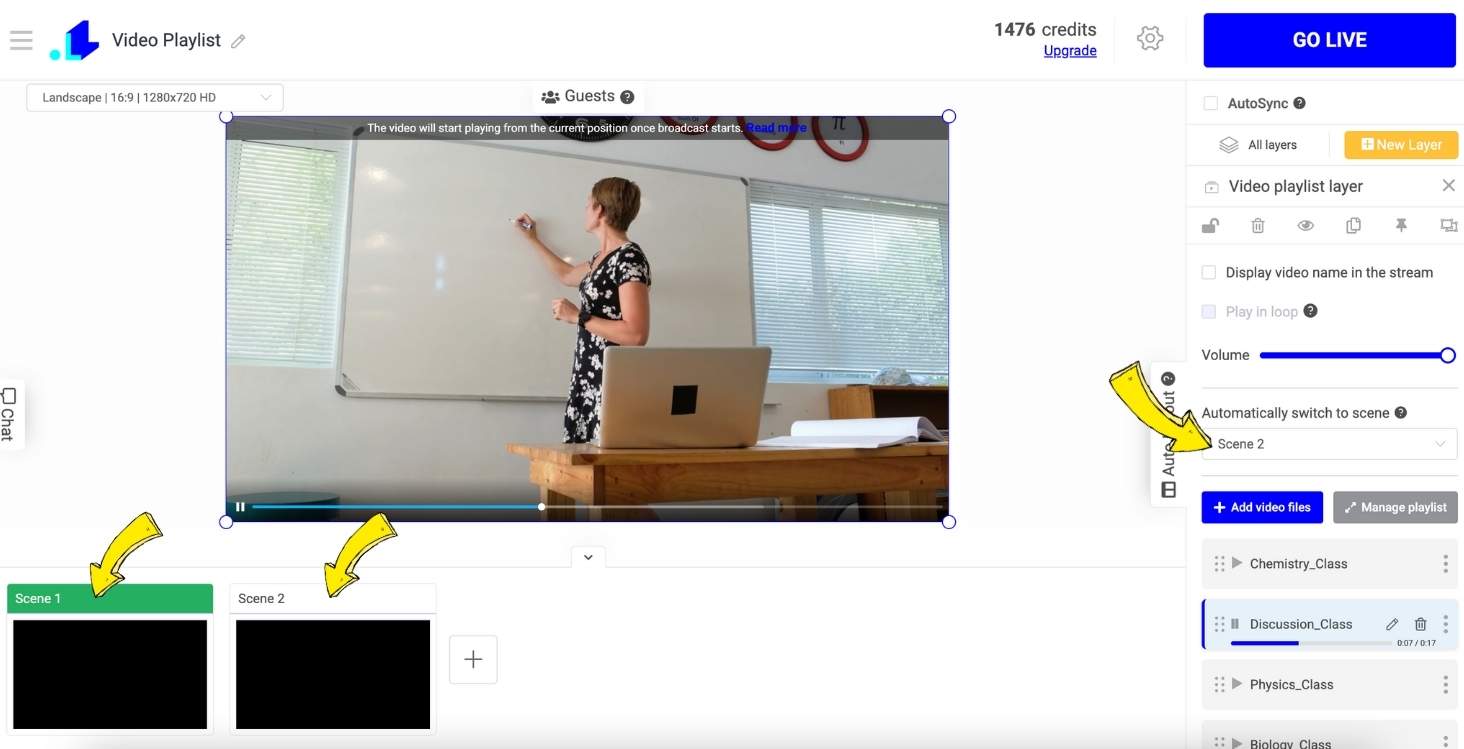
To do this, add your scenes first, then return to the Video Playlist layer. In the right sidebar, find "Automatically switch to scene," and pick the scene you want to switch to after the playlist ends.

How to manage a Video Playlist?
Right above the playlist, you'll see a "Manage Playlist" button. Clicking it opens the Playlist Manager where you can make various changes to your playlist.

If you want to organize the videos by name or length, you can click the box in the top right corner to sort them. You can also rearrange them by dragging the six dots next to each file.

Need a quick preview? Click the eye icon next to any video.

If you need to rename a file, just hit the pen icon.

To remove a video, click the bin icon next to it, and if you accidentally delete one, you can always add it back by clicking "Add Videos" in the top left corner.

For bulk actions, like moving or deleting several files at once, check the boxes next to the videos you want to modify and use the "Bulk Actions" or "Remove Selected" options to get it done.

You can reorder, rename, or remove files straight from the right sidebar without having to go back into the Playlist Manager. Just grab the videos by the six dots to change their position. Hover over a file to see the pen icon for renaming or the bin icon for deleting.

Even if your playlist is live, you can still add more videos. Just click the "Add Video Files" button and select the files you want to include.


How to Go Live with a Video Playlist?
- Getting your video playlist live is super simple. In your project, click on the Settings, which is the gear icon you’ll see there.

- The first step is to add your social media account, and you can do this by clicking the + icon.

- You have the option to connect your YouTube, Facebook, or any custom RTMP destination where you want your stream to go.

- After picking and connecting your platform, it’s time to get into the details. Add a catchy title and a description for your stream. You'll also need to set how long you want the stream to last. If you prefer to plan ahead, there's the option to schedule your project for later. Once everything looks good, scroll down and click the Save button.

- When you’re all set up, just hit the Go Live button. In no time, your stream will pop up on your chosen social media platform, ready for your audience to enjoy.

Conclusion
To sum up, with tools like LiveReacting, it’s super easy to set up and stream all your videos without any extra software. Whether you're sharing a few clips or going for an epic 24/7 live playlist, you can do it all with just a few clicks. Plus, you get to add your own style with cool customization options, like adding video names, choosing colors, and even setting loops.
From rocking out with a music playlist on Twitch to hosting an online event with pre-recorded segments, there are so many ways to use video playlists to keep your audience engaged and entertained. Managing your playlist is a breeze as well. You can sort, edit, and preview videos, and even make changes on the fly while you’re live.
When you’re ready to go live, just connect your social media accounts, set up your stream details, and hit the "Go Live" button. In no time, your playlist will be streaming to your audience, creating an exciting, nonstop experience for everyone tuning in. Enjoy sharing your content with the world and take your streaming to the next level.
Transform Your Live Streams with LiveReacting
Join 10,000+ streamers who are boosting engagement and viewership by adding pre-recorded videos, games, polls, and countdowns to their streams.
Try LiveReacting for free today and take your streams to the next level!
